Direct answer
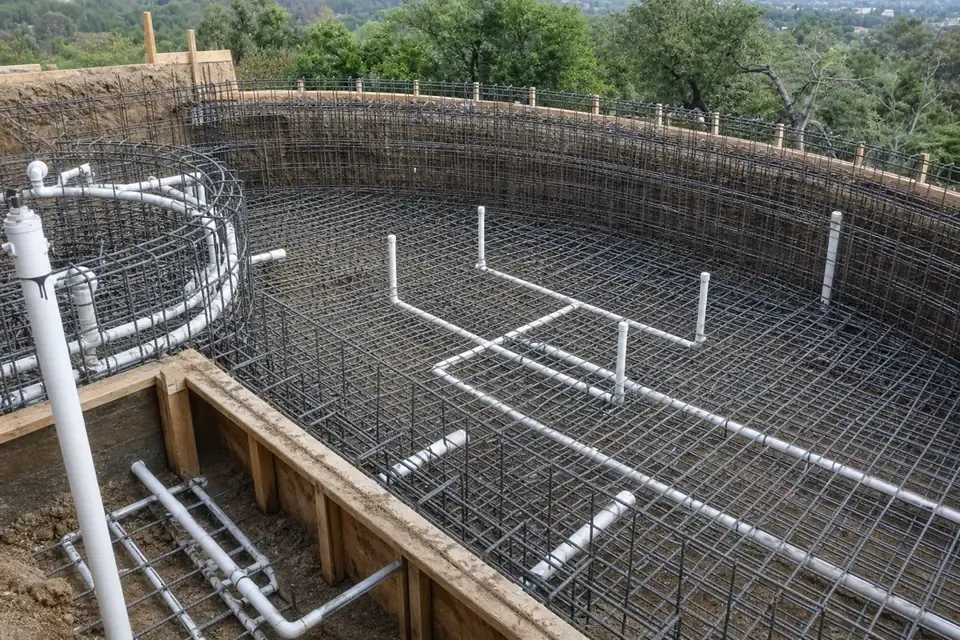
Before gunite or wet-mix shotcrete conceals pool plumbing, obtain the water-test record and required inspection approval for the circuits being covered. Have the contractor document the test boundaries, cement cure, pressure, observation period and result under your approved project requirements. Do not use compressed air to test PVC. A gauge photograph alone cannot establish that every planned line was included.
Key takeaways
- Agree the test pressure, duration and acceptance criteria with the responsible project team before scheduling concealment.
- Keep cement initial set, cure before pressurization and the water-test observation period separate.
- Match the test record to identified circuits and exclusions, then resolve unexplained pressure changes.
- Review underground support and pipe specification separately from the leak-test result.
A plumbing leak becomes harder to reach once the pool shell covers it. Before gunite, obtain a documented water test and the inspection approval your project requires for the lines about to be concealed.
This guide helps an owner review a pressure test of pool plumbing before gunite: what was connected to the gauge, whether the joints were ready, what the readings mean and who releases the work. The contractor performs the test; your task is to connect its record to the approved plumbing plan. Use the pool construction hub for the surrounding decisions and the construction stages guide for the wider sequence.
Scroll horizontally to read all columns.
| Input or item | Value or source to obtain | Why it matters |
|---|---|---|
| Circuits being concealed | Marked approved plumbing plan | Defines what the record covers |
| Water-test pressure | Applicable project requirement, reconciled with component limits | Prevents an unrelated pressure number becoming the instruction |
| Test temperature and component limits | Installed-product instructions, including any required temperature derating | Checks the limits applicable during this test |
| Observation period and pass criteria | Written project test procedure | Defines when the test is complete |
| Cement cure before testing | Exact cement instructions and installation conditions | Establishes when pressurization may begin |
| Gauge and isolation boundaries | Contractor’s test sketch and equipment record | Connects a reading to the pipe under review |
| Bedding and backfill | Applicable underground pressure-pipe detail | Keeps support review separate from leakage review |
| Concealment release | Required inspection and project sign-off | Identifies who authorizes the next trade |
Agree the test before booking gunite
Get the test requirement in writing before the shell crew is booked. A pressure number without a circuit, medium, duration and pass criterion is an incomplete instruction.
Ask the contractor to identify the approved plan or applicable local requirement, the pipe and fitting instructions, and the procedure for temporary test equipment. If those documents appear to conflict, have the designer, contractor and inspection authority resolve the difference before testing. Choosing whichever number is largest does not resolve incompatible requirements.
A proposed “35 PSI for 24 hours” should therefore prompt questions: which circuit, which document and which acceptance rule? This guide does not prescribe that pair of values. A longer project observation period also needs a named person to monitor it and record any changes.
Place the agreed test beside the other holds in the new-pool project checklist. Distinguish the contractor’s test completion from any separate inspection appointment, so a completed test is not mistaken for permission to cover the work.
Takeaway: Record the controlling requirement and the person who can release the plumbing hold.
Map circuits and the water-test connection
A test applies to the connected, isolated circuit shown in its record. Ask for a sketch that links the gauge to the actual buried routes, including any branches excluded by valves or temporary caps.
The sketch should show the water introduction point, pressure-gauge connection, the contractor’s provision for removing trapped air, isolation points and temporary closures. These are items to identify on the contractor’s setup, rather than a diagram from which an owner should assemble test equipment. The equipment pad layout guide helps connect pipe routes to their eventual pad positions.
Scroll horizontally to read all columns.
| Circuit or connection to identify | Question for the contractor | Record to retain |
|---|---|---|
| Suction routes shown on the plan | Which openings and branches are included in this test? | Circuit names and marked isolation boundaries |
| Pool returns and feature branches | Can you trace each branch from the test connection to its closure? | Marked route and included outlets |
| Separate spa plumbing | Is this part of the same test or a separate test? | Separate result or explicit inclusion |
| Gauge and water connection | Where is pressure measured, and how is the filling source isolated during observation? | Setup sketch and gauge identity |
| Temporary caps, plugs and valves | Which closures define the boundary, and who checks their suitability? | Closure locations and responsible installer |
| Equipment or unfinished connections | What is excluded and when will it be checked? | Exclusion and follow-up date or hold point |
For a combined pool and spa, cross-check the routes against the pool and spa planning guide. Keep the automatic fill connection identifiable as its own scope; do not assume a circulation-line test covers a separate supply connection.
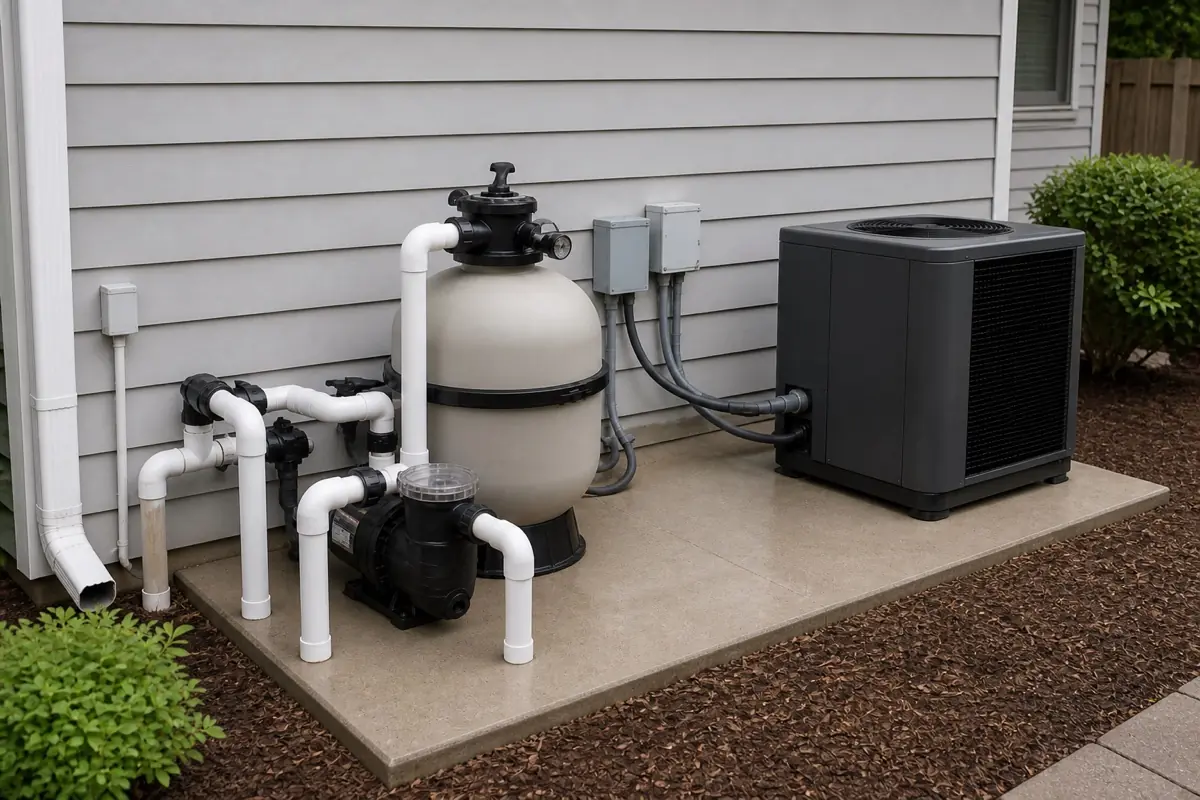
Takeaway: Match every recorded result to a named circuit, with exclusions visible on the plan.
Keep cement cure separate from the hold
Permission to handle a joint is different from permission to pressurize it. Spears’ published guide separates initial set from joint cure and varies its guidance with size, temperature and intended pressure; humid conditions and special cements also affect the instructions.
Use the instructions for the actual cement installed. Ask for its identity, the relevant pipe size, installation conditions and the time the last joint in the test circuit was completed. A late repair deserves its own entry rather than inheriting the cure record for earlier work.
Scroll horizontally to read all columns.
| Timing question | Record | What it closes |
|---|---|---|
| When may a newly joined section be handled? | Product’s initial-set instruction | Handling after joining |
| When may that circuit be pressurized? | Product’s cure instruction and last-joint completion time | Readiness to start the pressure test |
| How long is the water test observed? | Project procedure, start and finish times | The test observation window |
The entries answer different questions. If the project calls for a 24-hour pressure observation, that window does not replace the cement cure beforehand. Conversely, waiting for the cement does not mean the installed circuit has already passed its water test.
Common mistake: Starting the pressure-test clock when the final joint is glued, without first establishing the cure requirement.
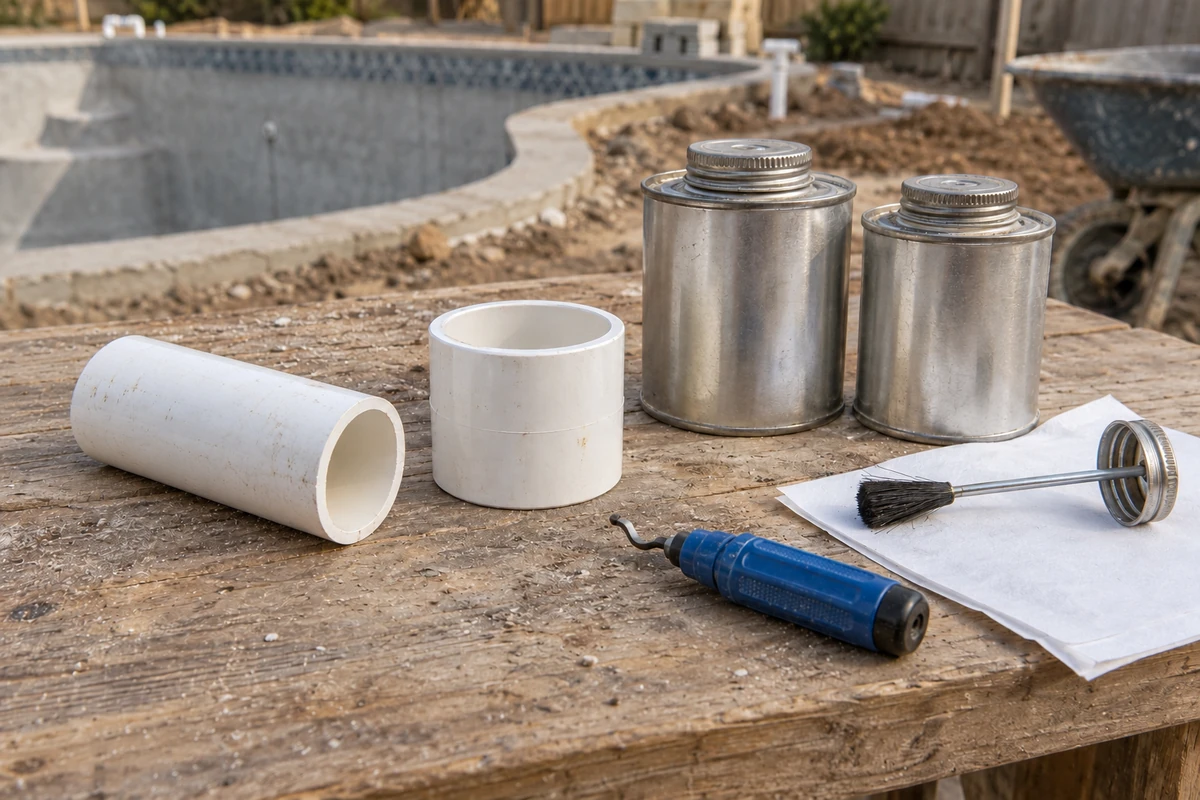
Takeaway: Keep the last-joint time, cure completion and test observation times as separate entries.
Use a documented water test
Have the responsible installer prepare and carry out the hydrostatic test. Charlotte Pipe’s pressure-system instructions call for water, restraint against movement, slow filling and removal of trapped air, while respecting the temperature-adjusted limits applicable to the components under test. Record the test temperature and have the contractor confirm any required manufacturer pressure derating, including the suitability of temporary closures.
Its warnings prohibit compressed-air or gas testing of PVC, including air-over-water boosters. A water-filled line is not permission to add compressed air. Do not adapt a drain-system test or a demonstration video into an instruction for the pool circuit.
For the owner record, ask the contractor to:
- Identify the test procedure, circuit and temporary equipment.
- Confirm that the relevant joints have reached the required cure condition.
- Document the prepared, isolated setup and removal of trapped air.
- Record the starting pressure and time, test temperature, required observations, ending pressure and time, and any intervention.
- State the result against the project’s acceptance criteria and name the person reviewing it.
The equipment list belongs in the pool equipment BOM so changes at the pad can be traced to the installed scope. Testing buried routes does not establish pump sizing, bonding, backflow protection or equipment operation.
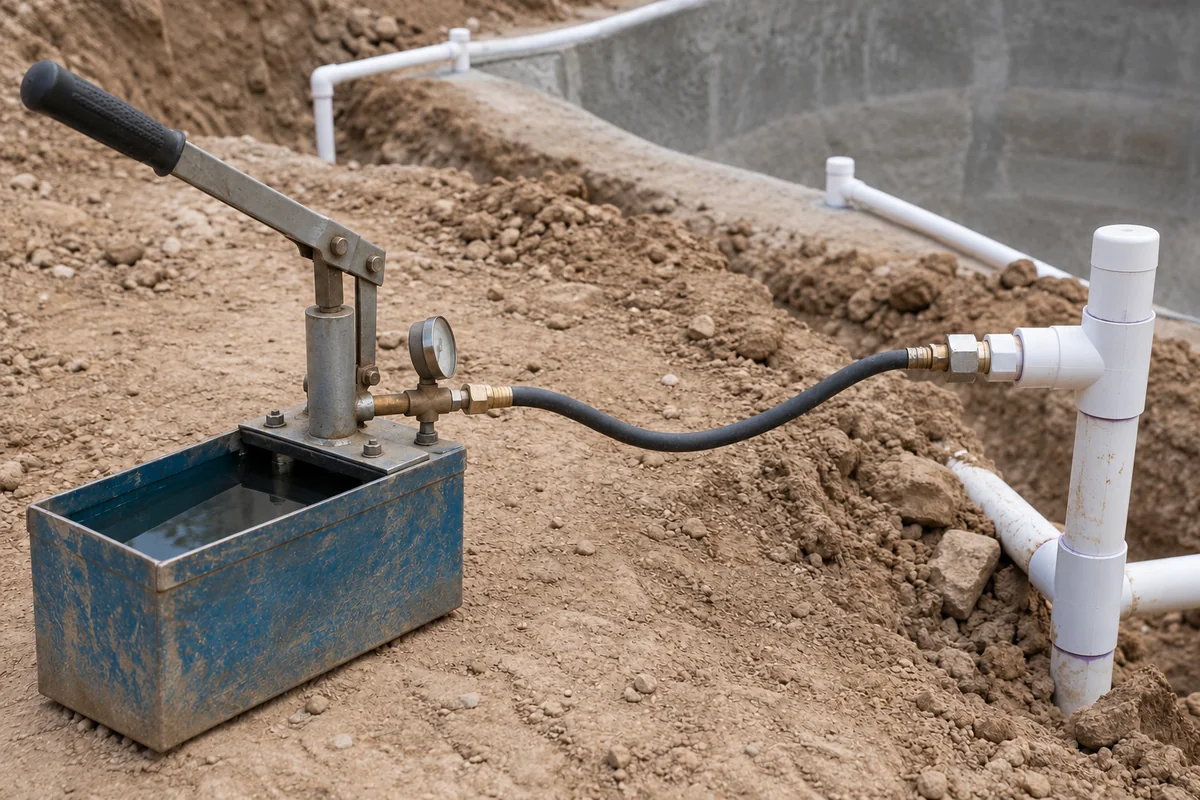
Takeaway: Ask for the test method and complete reading record, rather than accepting a gauge photograph as the result.
Investigate a falling gauge before concealment
Treat an unexplained pressure change as an unresolved observation. The gauge alone does not tell you whether the issue lies in the buried route, a temporary connection or the setup; ask the contractor to investigate before the affected work is covered.
The following is an owner review checklist, not a diagnosis or a substitute pass criterion.
Scroll horizontally to read all columns.
| Observation | Review to request | Evidence needed before release |
|---|---|---|
| A reading changes during the observation window | Compare the readings and any interventions with the written procedure | Contractor’s explanation and recorded disposition |
| Water appears at an accessible joint or closure | Identify whether it is a permanent joint or temporary test connection | Correction record and required repeat test |
| The connected scope is uncertain | Trace the gauge connection and isolation boundaries | Revised circuit sketch |
| A branch was excluded | Establish its separate check and completion hold | Named follow-up, not an assumed pass |
| A gauge was changed or water was added | Explain the intervention and how acceptance will be established | New or continued record under the agreed procedure |
Do not apply a generic “normal pressure drop” allowance or calculate leak volume from a photograph. Ask what the project procedure permits and how the contractor has demonstrated compliance with it. Record a repair, the new joint’s cure and the subsequent test together.
Common mistake: Adding water to restore the starting reading, then reporting only the final number. An intervention belongs in the record.
Takeaway: Close the cause and acceptance questions before closing the trench or shell around that circuit.
Review bedding and pipe specification
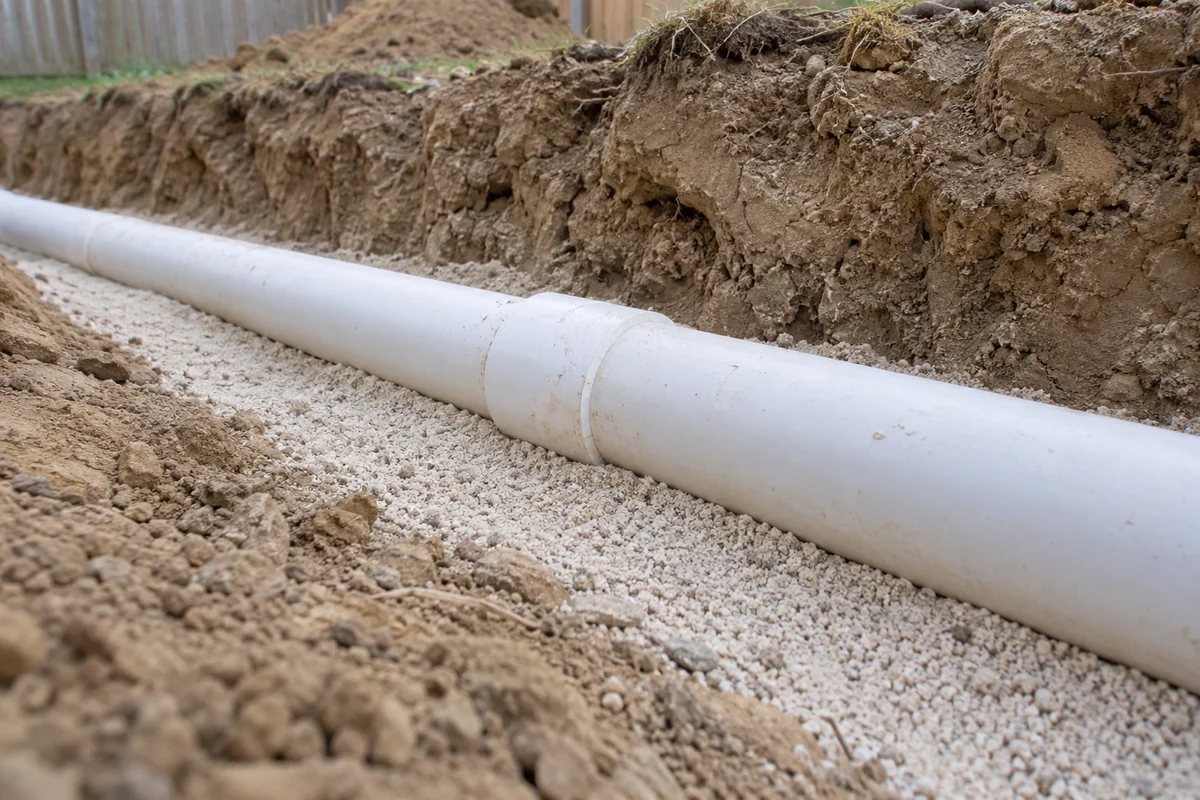
A passing leak test does not complete the underground installation review. Obtain the support and backfill detail for the actual pressure-pipe application, alongside the pipe and fitting specification.
Charlotte Pipe’s manual distinguishes underground thermoplastic pressure piping from gravity-flow sewer and drainage applications. Do not copy a drainage trench’s bedding dimensions into the pool circulation detail simply because both use PVC. The soil and excavation planning guide helps organize the ground-condition information that belongs in the project review.
Ask the designer or contractor to show the specified bedding material, pipe support, side support, backfill and compaction requirements, and the treatment of crossings or transitions. If a sand bed is proposed, request the applicable detail rather than prescribing a universal sand thickness. Obtain confirmation that the installed condition matches it before concealment.
For Schedule 40 versus Schedule 80 PVC underground, start with the specified pressure-rated pipe and compatible fittings. “Schedule” alone does not establish the suitability of every component or the completed buried assembly. Request the product documentation; avoid choosing solely by color, wall appearance or a promise of longer service life.
Takeaway: Review pressure integrity and underground support as separate parts of the same release.
Close the hold point and keep the record
Release the next trade only when the required test, corrections and inspection are accounted for. Keep this compact handoff with the approved plans so later crews know what has been checked and what still needs protection or verification.
Scroll horizontally to read all columns.
| Handoff item | What to retain |
|---|---|
| Scope | Circuit map, included routes and exclusions |
| Readiness | Cement identity, last-joint time and applicable cure instruction |
| Result | Procedure, gauge record, test temperature, applicable component limits, pressures, times, interventions and acceptance disposition |
| Corrections | Repair location, new cure entry and required retest result |
| Release and later work | Required inspection approval, responsible person and agreed monitoring or repeat-test plan |
As a local example, Westlake’s 2025 pool guidelines say work should not be covered before inspection and photographs do not replace its on-site inspections. Those rules illustrate why a photo and an inspection release are distinct records; they do not set a national pool-plumbing pressure.
If your project requires a gauge to remain connected during shell work, record who watches it, what happens if the reading changes and when later verification occurs. Keeping a gauge attached does not guarantee protection against construction damage or eliminate future leaks.
Use the shell-strength and test-record guide for the separate concrete acceptance questions. For cover interfaces that share the construction area, the cover coordination checklist helps keep those responsibilities identifiable alongside the plumbing record.
Takeaway: Keep the release, exclusions and later verification responsibilities together with the test result.
When this does not apply
This checklist concerns newly installed pool plumbing approaching concealment. An operating pool that loses water, a service diagnostic test, a gravity drain, a separate fill-water supply or a special piping material needs its own applicable procedure.
Freezing conditions, unusual materials or an unresolved conflict between project requirements and component instructions need a procedure from the responsible project team. Do not substitute a longer hold or a higher pressure for that decision.
Takeaway: Identify the system and task before selecting the test procedure.
Method and sources
This is a public-document record checklist for owners. Charlotte Pipe’s pressure-system instructions support the water-test preparation and limits; Spears’ cement guide distinguishes set from cure. The underground application distinction comes from the pipe manual, while Westlake provides a dated local inspection example. The tables organize information to request and do not prescribe project acceptance values.
The linked primary documents appear in the source list below. Use the instructions for the products actually installed and the requirements approved for your project.
Related reading
- Construction stages guide — Put the plumbing release between rough-in and shell placement.
- New-pool project checklist — Keep design decisions and inspection responsibilities on one project record.
- Equipment pad layout — Trace buried routes to their eventual equipment connections.
Frequently asked questions
What is the difference between a pressure test and a leak test?
In this guide, a hydrostatic pressure test is used to check an isolated circuit for leakage, so the terms overlap. Ask what the named test measures and what counts as acceptance. Detecting a problem in a circuit and locating its exact defect are separate tasks; a pressure record alone does not locate a buried leak.
How many psi to test water lines?
Use the requirement for the identified pool circuit and its installed components. A household water-line procedure or a kit's instructions do not automatically establish your pool's acceptance pressure. Have the contractor reconcile the approved project requirement with the component makers' limits.
How much does it cost to pressure test pool lines?
Request a scope-based quotation covering the circuits, access, isolation equipment, witnessing and written record. Ask separately whether investigation, repairs and retesting are included. This guide provides no generic price because it does not define your project's scope.
Will PVC leak if not glued?
A dry-fitted socket intended for solvent cementing is not a completed pressure joint. Have the installer use the specified joining system and cure instructions. Some components use other connection methods, so first identify the actual joint rather than assuming every PVC connection is glued.
Can you take PVC pipe apart after glued?
Do not try to pull apart a cured joint as an owner troubleshooting step. Have the contractor select the repair procedure applicable to the installed pressure piping. Record any replacement components, the new joints' cure and the repeat water-test result before concealment.
Can you reuse PVC pipe that has been glued?
Do not assume a previously cemented socket is ready for another pressure joint. Ask the contractor to assess the remaining pipe and follow the maker's repair procedure. A proposed repair still needs suitable new connections, their cure period and a repeat test before concealment.
Sources
- Plastics Technical and Installation Manual, updated June 5, 2026: pressure-system testing, page 74; underground application distinction, page 71 — Charlotte Pipe and Foundry Accessed October 9, 2026.
- Solvent Cement and Primer Engineering Guide: initial set and joint cure schedules, page 10 — Spears Manufacturing Accessed October 9, 2026.
- The Dangers of Air Testing PVC, CPVC, and ABS Plumbing Systems, February 16, 2024 — Charlotte Pipe and Foundry Accessed October 9, 2026.
- Westlake Pool Permit Guidelines 2025: inspections before covering, pages 4–5 — Town of Westlake, Texas Accessed October 9, 2026.